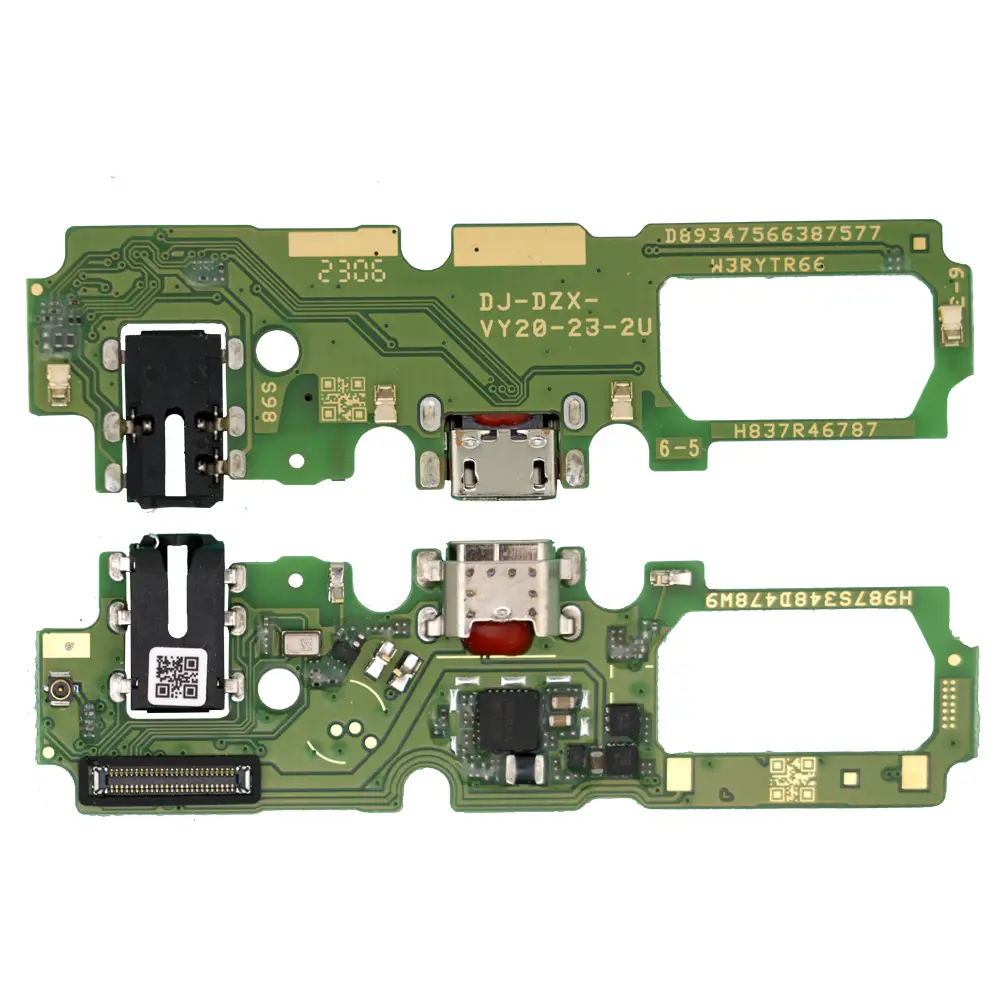
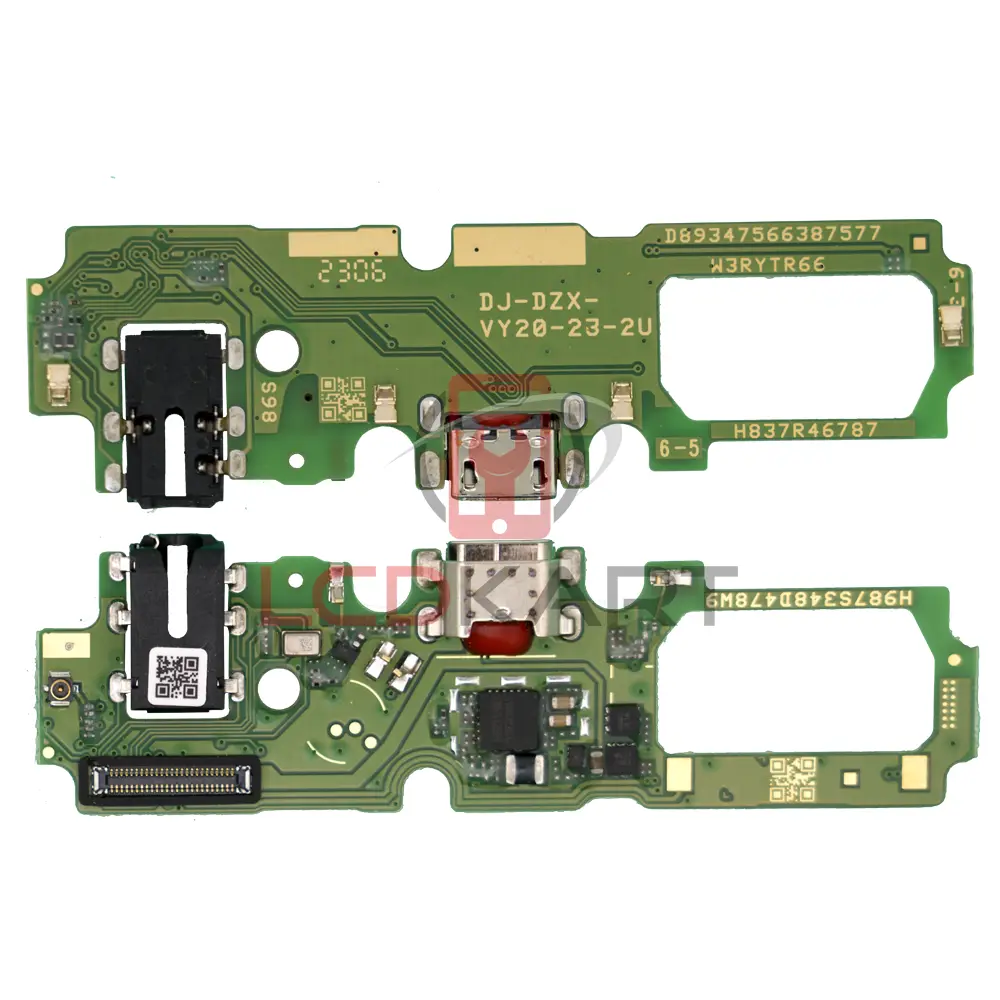
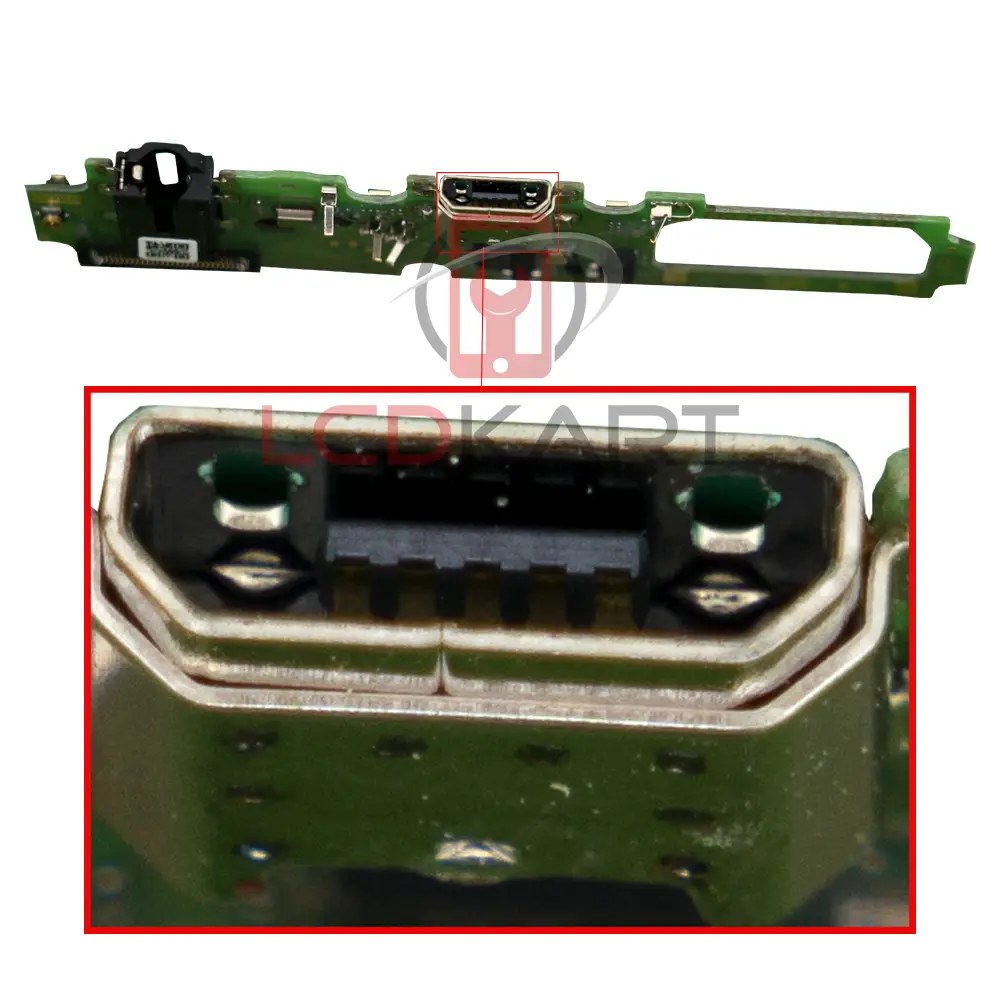
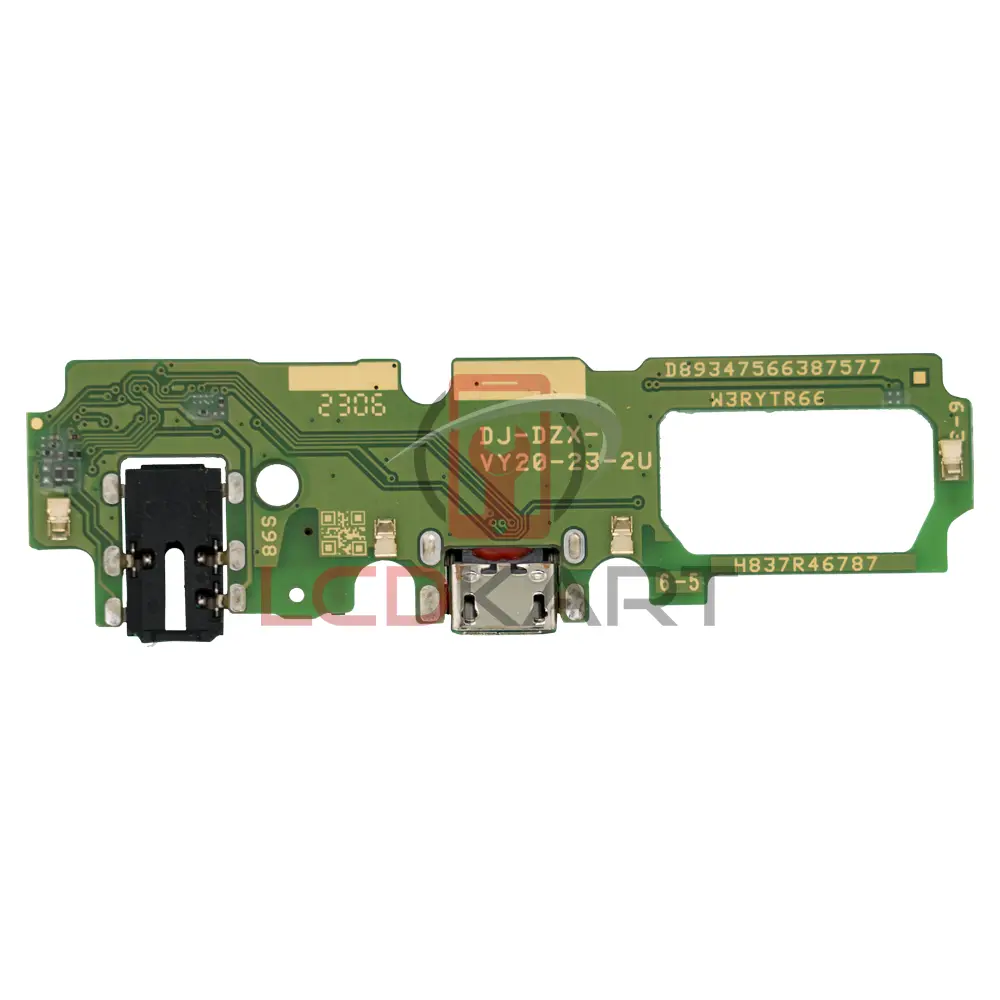
Charging Connector Flex / PCB Board for Vivo Y20
₹299.00
If you’re having trouble charging your Vivo Y20 phone or the charging connector is no longer good, buy a new charging PCB to resolve the problem. If you have questions, please call us at 8302263606.
- Easily Replace the charging PCB.
- Fully Tested Before Shipping.
- 30-day return and replacement guarantee.
3 in stock
A broken or damaged Vivo Y20 charging connector prevents you from charging your phone. Without charging the phone, it is not possible to use it, so you need a new charging connector. If your phone's charging PCB has cracked or doesn't work after prolonged usage, you also need a new charging PCB.
The charging connector often stops working because of wear and tear, moisture, water damage, and other similar problems. If you connect different cables to charge your phone, the charging connector wears out too soon, and you must replace it. For questions, please call us at 8302263606.
| Product Quality | A+ Grade / Compatible (non-original) |
| PCB Condition | Brand New |
| What's Included | 1 PC of Vivo Y20 Charging PCB / Patta/ Board |
| Compatible Model | Vivo Y20 |
| Mobile's Model Number | V2029 |
| Manufacturer | OEM Grade |
| Warranty Coverage | Manufacturing Defects Only |
| Warranty Type | Test The PCB Before Installation |
You must open the back panel and dismantle the phone to install the charging PCB. We believe that it is very easy to do that, but you shouldn't try self-installation as a first-timer.
Q: What is the price of Vivo Y20 Charging Flex?
The Vivo Y20 charging flex replacement costs around Rs.300-400. You can buy a new charging PCB from LCD Kart and replace a defective charging PCB.
Q: Is it a 100% original PCB?
No. It is not a 100% original charging board but an excellent-quality product. We source these spare parts from reputable vendors who make quality spare parts for a fraction of the price.
Q: Does the new PCB support quick charging?
Yes. The quick charge feature works perfectly with the new charging PCB. We test the charging PCB carefully before shipping it, so please rest assured that all the vital features will work flawlessly.
- Charging PCB Warranty: Test New Charging Board Without Installation.
- Warranty Coverage: Non-Working PCB in Unused Condition.
- No Warranty Coverage: Pasted / Installed PCB, Damaged Board.
- Whom To Contact: Contact our Helpline.
- Return Period: No Returns.
- Return Condition: No Returns.
- Delivery Charges: Free Delivery.
- COD : Not Available.
- Shipping Time: 24 Hours.
- Standard Delivery Time: 2-4 Working Days.
- Remote Location Delivery Time: 6 -7 Working Days.
- Packing: Safe Packing In Plastic Boxes.
- In-Transit Damage: Free Replacement, Record an Unboxing Video.
You can always contact us for assistance, and we'll be more than happy to answer your questions.
- Calling Number: 8302263606.
- WhatsApp Support: 8302263606
- Calling Time: 10.00 AM to 8.00 PM IST


Reviews
There are no reviews yet.